Tile adhesive is a ready-to-use bonding material specially designed for fixing tiles on floors and walls. Unlike traditional cement mortar, tile adhesive provides strong grip, better finish, and long-lasting performance. If you want crack-free and durable tiling, tile adhesive is the best choice. one two three
Traditional cement method has many issues:
Tile adhesive solves all these problems. two
Ensures tiles stay fixed for long time without loosening.two
Tiles fixed properly without gaps.
Quick installation and saves labour time.
Just mix with water and apply.
Controlled usage compared to cement.
Ceramic, vitrified, large size, wall & floor tiles.
| Feature | Tile Adhesive | Cement |
|---|---|---|
| Bond Strength | High | Low |
| Work Speed | Fast | Slow |
| Water Resistance | Excellent | Poor |
| Finish | Smooth | Rough |
| Durability | Long | Short |
Always choose adhesive for better results. one
Step 1: Surface Preparation
Clean surface, remove dust and oil.
Step 2: Mixing
Add adhesive in water, mix properly.
Step 3: Application
Apply using notched trowel, spread evenly.
Step 4: Tile Fixing
Place tile and press, adjust alignment.
Step 5: Setting
Allow 24 hours before grouting.
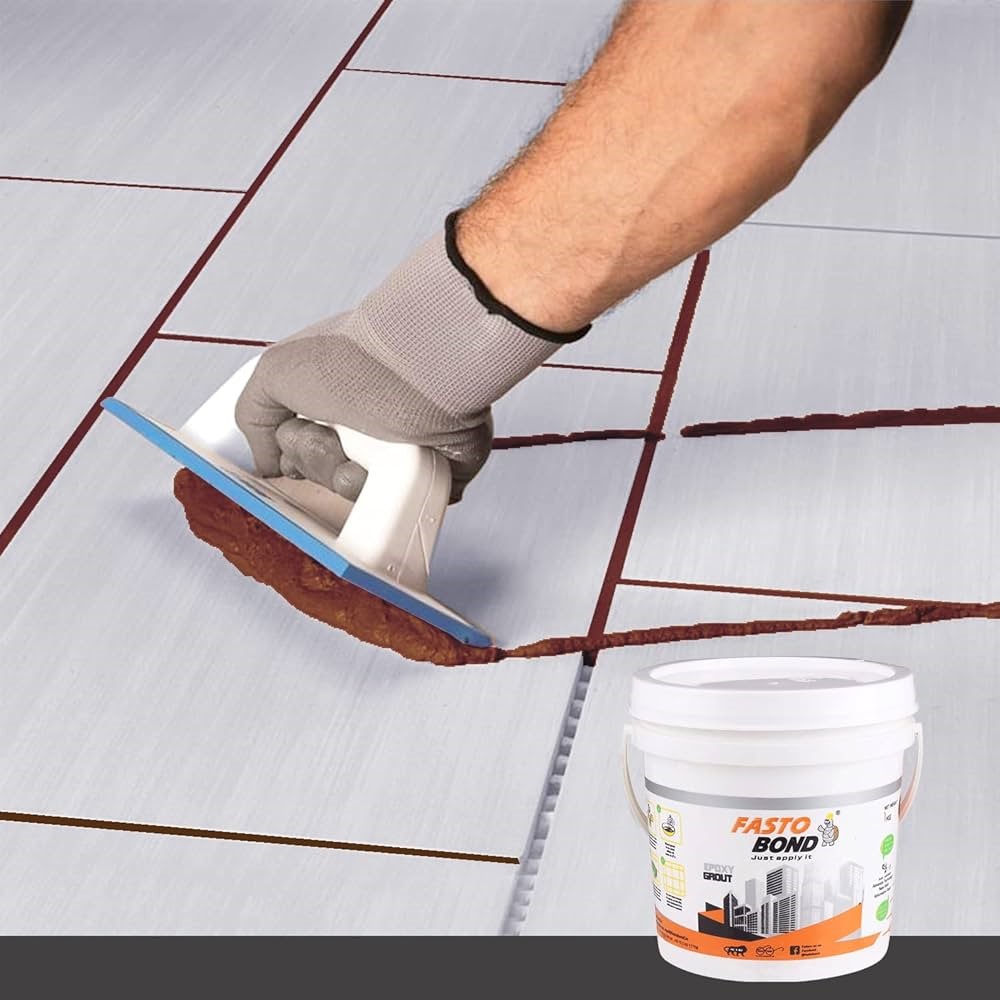
Epoxy grout is a high-performance joint filling material used between tiles. It provides strong joints, waterproof protection, and premium finish. It is much better than normal cement grout. two
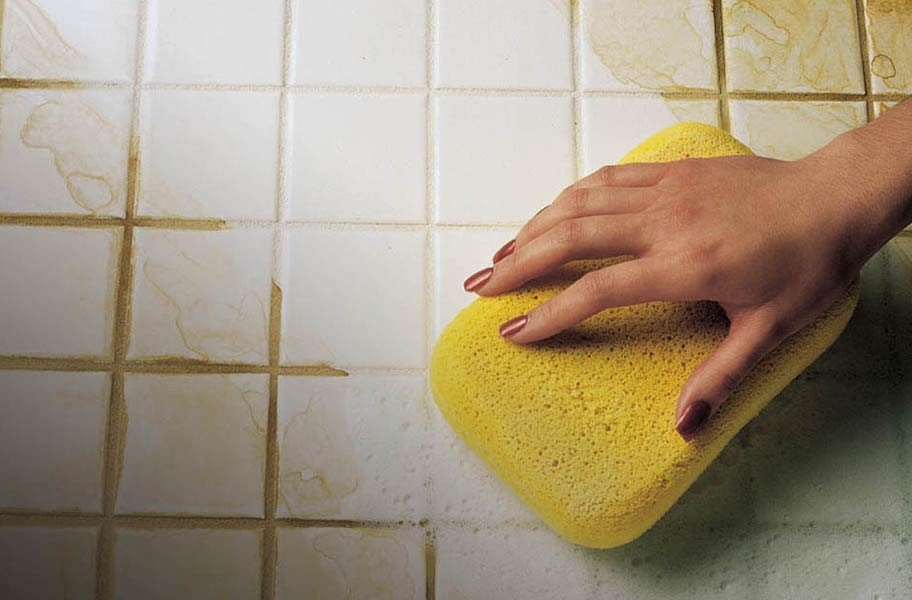
Normal grout problems:
Epoxy grout removes all these issues. two
Best for bathrooms and kitchens. two
No oil or dirt absorption.
Does not shrink or break.
Premium look and shine.
Very durable and strong.
Prevents fungus and bacteria.
| Feature | Epoxy Grout | Cement Grout |
|---|---|---|
| Water Resistance | Excellent | Poor |
| Stain Resistance | High | Low |
| Durability | Long | Short |
| Finish | Smooth | Rough |
| test | test | test |
Epoxy grout is always better.one
Step 1: Joint Cleaning
Clean tile gaps, remove dust.
Step 2: Mixing
Mix resin + hardener properly.
Step 3: Application
Fill joints using rubber float.
Step 4: Cleaning
Remove extra grout with sponge.
Step 5: Drying one
Let it dry for 24 hours.two
Click image to enlarge | Click PDF icon to download specification sheet
Premium products at best price. Strong bonding, waterproof joints, flawless finish.